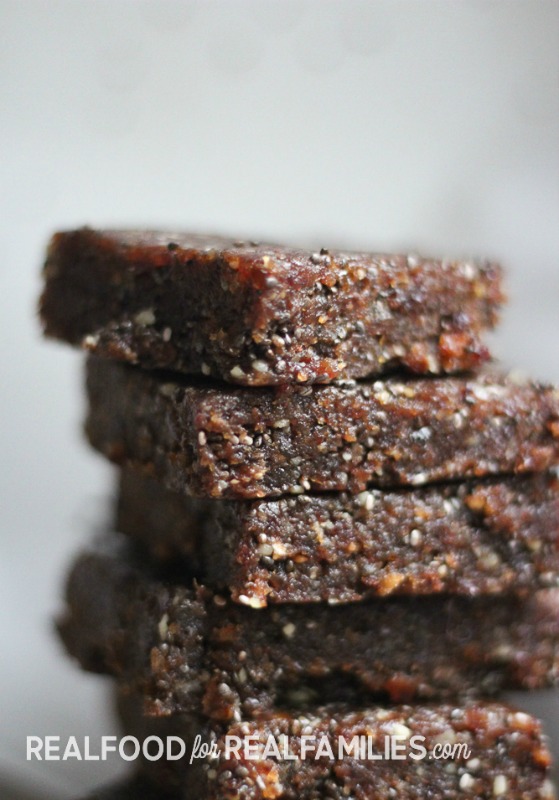
These homemade Larabars are simple, easy to make, no bake, and only have 4 ingredients! A simple healthy snack the whole family will love!
We’ve been making these homemade Larabars non stop lately. They are SO simple to make, they taste delicious, have only four ingredients, and my kids love them!
How to make homemade Larabars:
They can be made in less than 5 minutes and just require a blender. SO SIMPLE! They’re also really easy to customize. This recipe uses dried cherries, but experiment with different kinds of dried fruit to see which one you and your family like the best.
Just a warning: lots of manufacturers add sugar to their dried fruit. It drives me crazy! It’s completely unnecessary, but it happens all the time. Just make sure you look at the ingredients list first to make sure there’s no added sugar.
And the nice thing is, all you’ll need is a blender and a baking pan for this recipe. No special equipment necessary! It all comes together so nicely in just a few minutes.
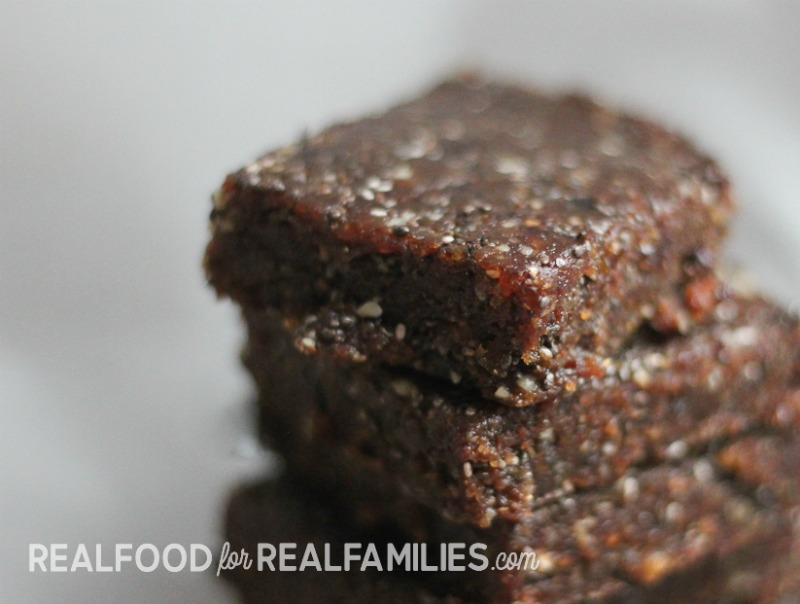
With only four ingredients, you can feel good about having your kids snack on these homemade Larabars any time of the day!
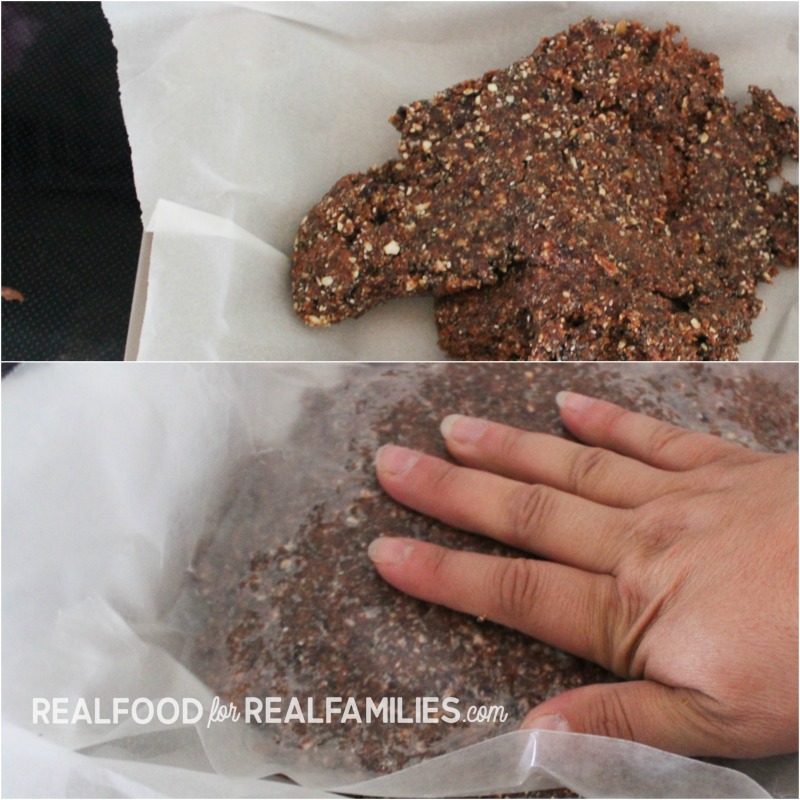
Another note: I lined my pan with parchment paper to make clean-up a breeze. I also used wax paper on top to smoosh it all down and get it into an even layer. Easy clean up for the win!

4 ingredient homemade Larabars
These homemade Larabars are simple, easy to make, no bake, and only have 4 ingredients! A simple healthy snack the whole family will love!
Ingredients
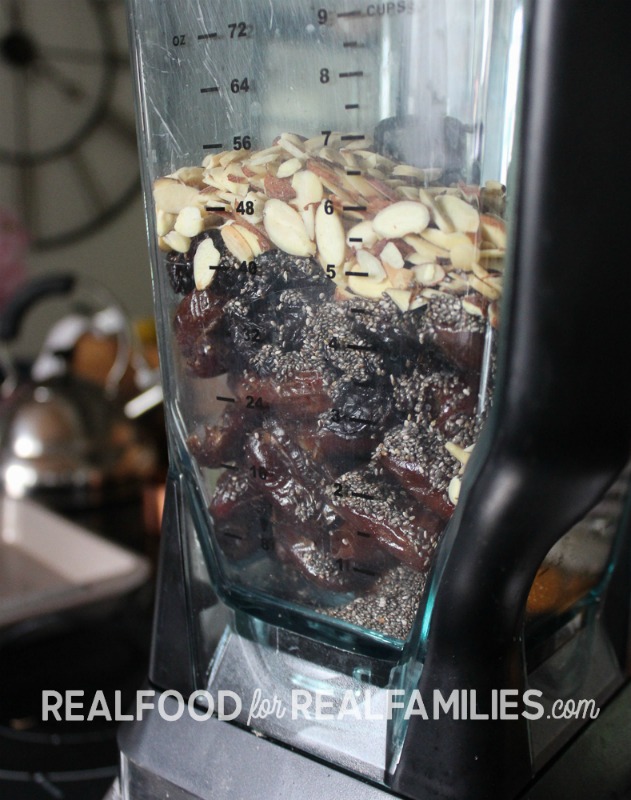
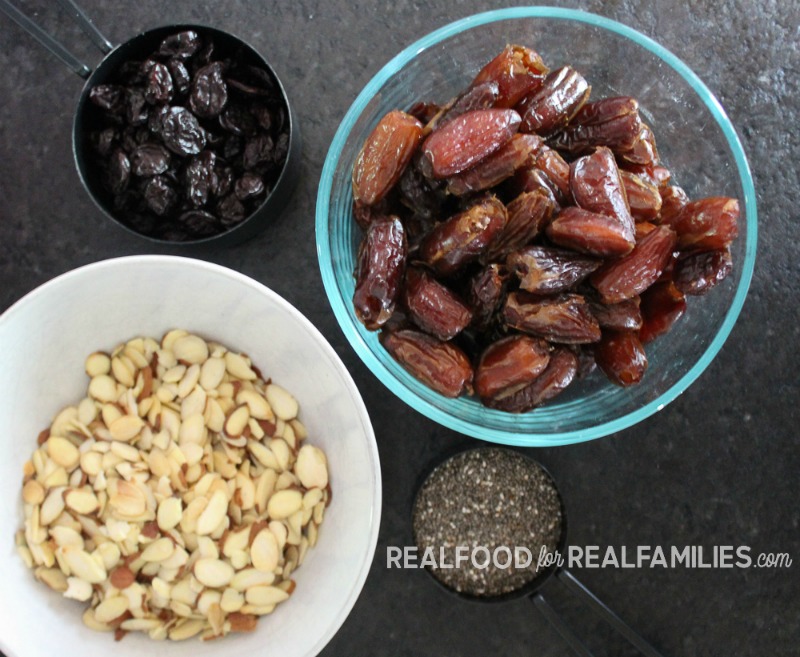
- 2 cups pitted dates
- 1 cup sliced almonds toast them for extra flavor!
- 1 cup dried cherries
- 1/3 cup chia seeds
Instructions
-
Put all ingredients into a blender or food processor.
-
Pulse until all of the ingredients form a thick paste-like consistency.
-
Line a square baking pan with parchment paper, and use a spatula to take the blended ingredients out of the blender.
-
Put a piece of wax paper on top, and knead the Larabars until they're flat.
-
Put the baking pan into the refrigerator and chill for 15-30 minutes.
-
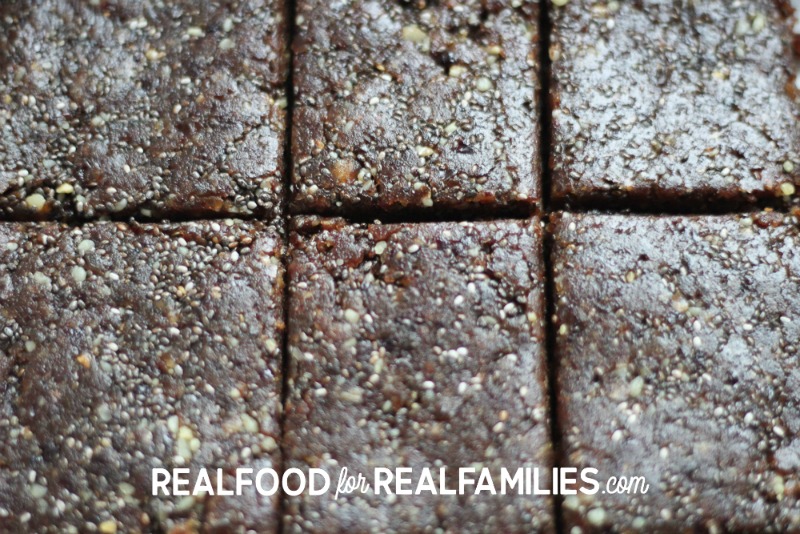
Remove from the refrigerator - cut into squares (mine are about 2 inches on each side).
-
Store in an airtight container in the refrigerator for up to a week.
Did you make this recipe and love it? Let us know! Share your recipe on Instagram and tag @RealFoodforRealFamilies
Interested in how to get your kids to eat more vegetables? I’ve got my BEST ideas and tips for you here – and it’s 100% FREE! Come see how to access your FREE ebook filled with valuable information.


Leave a Reply